
-
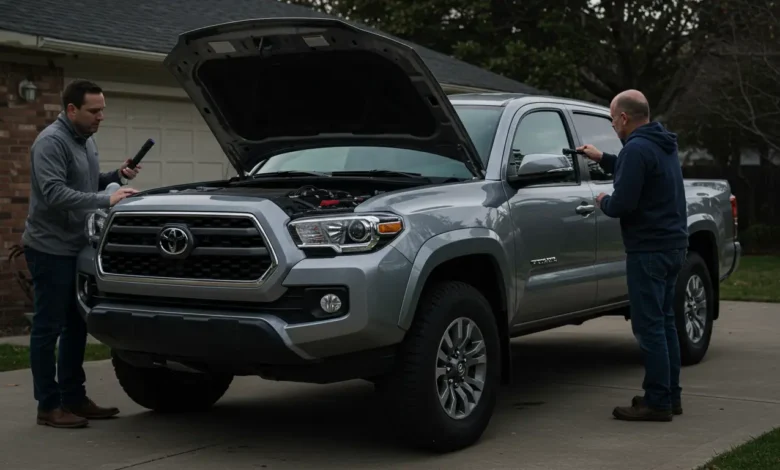
Buying a used Toyota Tacoma can be the smartest move you ever make—or a wallet-draining nightmare. The truck is built tough, but like any vehicle, it has its quirks, common issues, and seller red flags. Whether you’re hunting for a reliable daily, a blank canvas for mods, or a trail-ready rig, this guide walks you through everything you need to inspect before you sign that title. 1. Frame Rust: The Silent Killer Tacomas are notorious…
-
You’ve probably watched the YouTube videos. You’ve seen trucks dripping with accessories, half of which never get used. Overbuilding a Tacoma is real. So is wasting cash on hyped-up gear that does nothing but collect dust. This guide helps you cut through the noise. Here’s what gear is actually worth your money—and what’s just overpriced junk. Gear That Delivers Real Value 1. Skid Plates Protect your engine, trans, and diff from rocks and ruts. One…
-
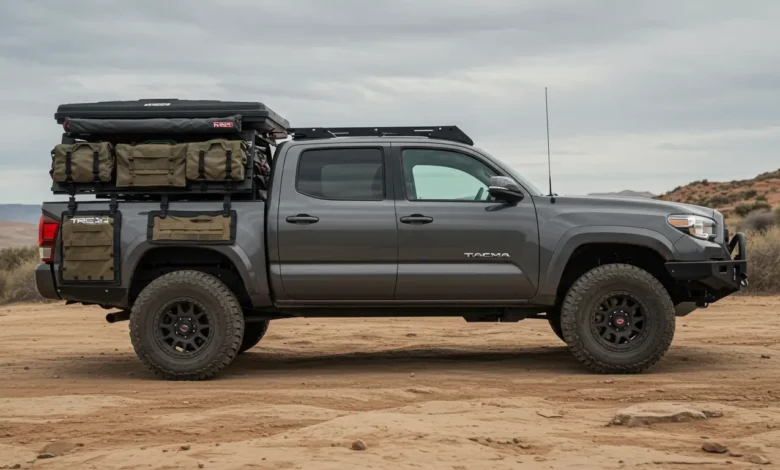
If your idea of camping involves more dirt than hookups and more nights under the stars than under a roof, you need more than just a tent in the bed. A true overland Tacoma isn’t about flexing gear—it’s about self-reliance, smart packing, and gear that works every time, in every terrain. This guide walks you through a proven, complete overland build for Tacoma owners who actually get out there and stay out there. Step 1:…
-

You won’t turn your Tacoma into a race truck. It’s a reliable, torquey 3.5L V6—not a turbocharged sports car. But you can squeeze more horsepower and throttle response out of it without grenading your engine or voiding every warranty. You just have to mod smart. This guide walks you through safe, effective performance mods that work for the 3.5L V6 (2GR-FKS), used in 2016+ Tacomas. No snake oil, no hype—just real gains that keep your…
-
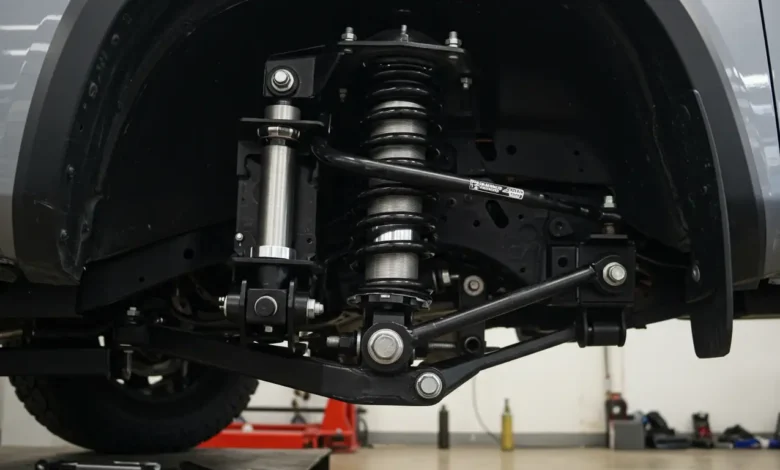
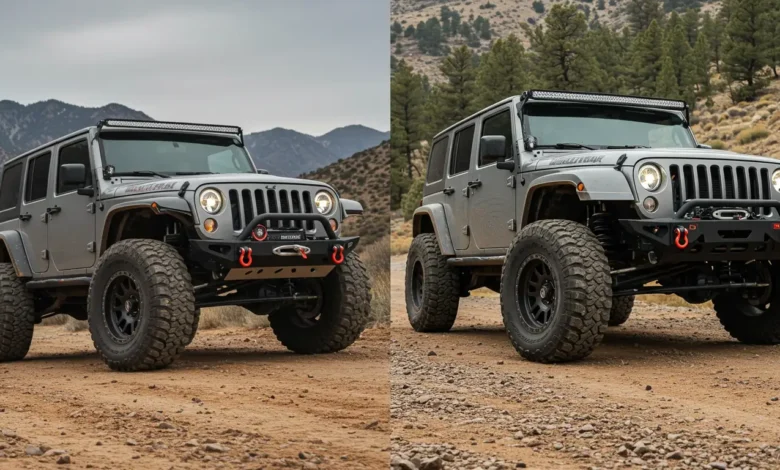
Everyone sees a lifted Tacoma and thinks: “That looks badass.” But when you’re the one shelling out the cash, the question hits different: Is it actually worth it? Here’s the truth: A lift kit can be totally worth it—or a complete waste. It depends on how you drive, what terrain you face, and what you’re trying to achieve. What a Lift Kit Actually Does A lift kit does one main thing: raises your Tacoma’s frame…